2026-05-30 @
Distributed apps with Aspire - Creating a new Aspire app
If you’re new here, make sure to check out the previous article of this series.
Prerequisites
There are a few things you’ll need to install before getting started with Aspire. The docs have a pretty good write-up of the prerequisites, but we’ll quickly go over them here.
Language
First, you’ll need to decide between creating a C# or a TypeScript AppHost. In this series, we’ll stick with C#, so in our case, the .NET 10 SDK will be needed. Aspire is able to run applications targeting .NET 8 or later, but .NET 10 is a strict requirement for the C# AppHost itself.
Container runtime
Then, you have to install an Open Container Initiative (OCI) container runtime. The recommended default is Docker Desktop, but Podman is also officially supported, with Rancher Desktop having community support too.
IDE
Now you have to choose an IDE to use. In case you chose to go with a TypeScript AppHost, Visual Studio Code is the recommended path to take. On the C# route however, Visual Studio and Rider are also great options. Since I’m a regular user of Visual Studio 2026, I’ll stick to it this time too, but feel free to explore the other options.
Aspire CLI
In case you chose Visual Studio to develop, you can do most things in the IDE itself. However, the Aspire CLI is a great tool to have and it is a requirement for the VSC extension in case you picked that option, so make sure to install the CLI.
In Bash, you can just run:
curl -sSL https://aspire.dev/install.sh | bashor in PowerShell:
irm https://aspire.dev/install.ps1 | iexIf you decided to go that route, installing the CLI can also be done via the VSC Aspire extension itself with Aspire: New Aspire project from the Command Palette. In this case, it is also recommended to install the official C# extension for language support.
You can validate the installation by running:
aspire --version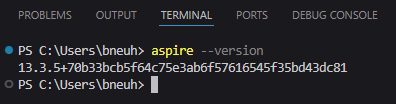
At the time of writing this article, I use version 13.3.5.
Creating a project
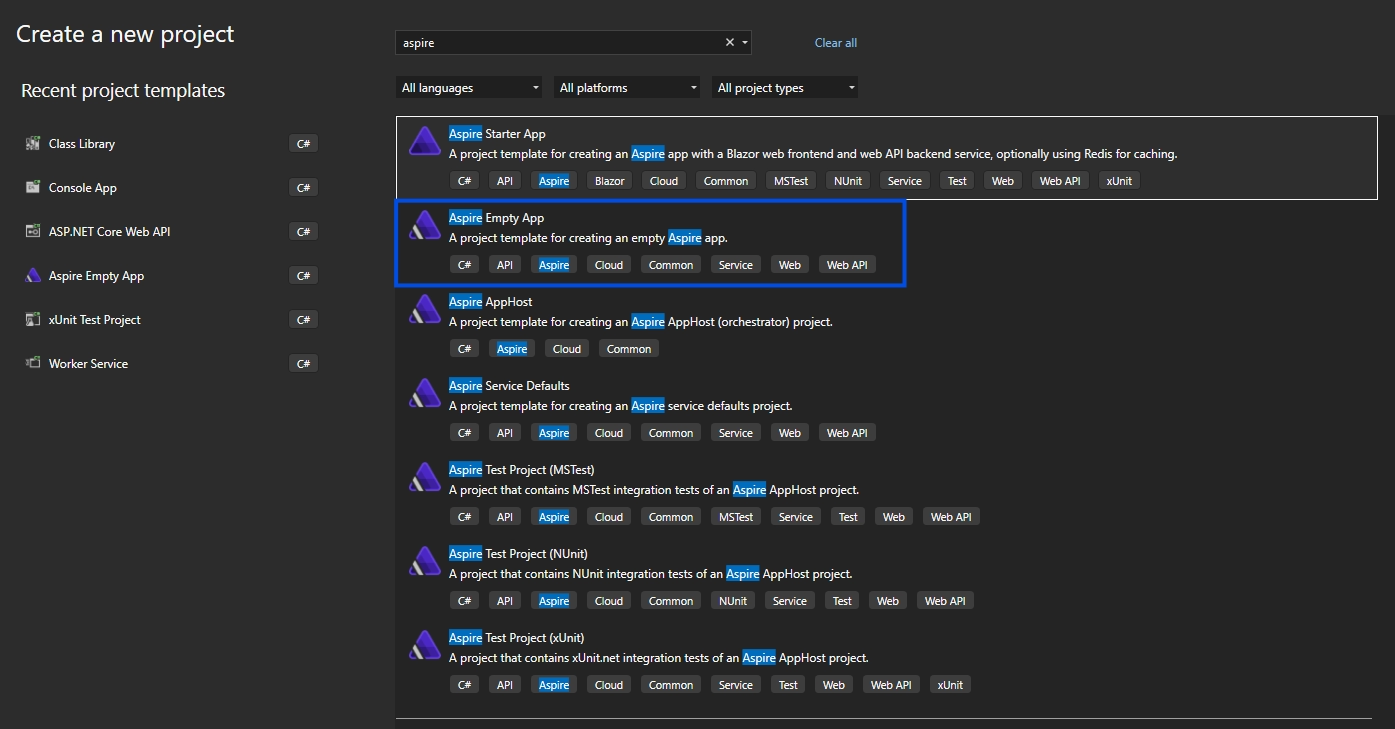
Since I decided to go with Visual Studio, I’ll just use that to create a project, but you can do the same thing with the CLI by running the aspire new command or using the Aspire: New Aspire project command provided by the VSC extension.
Either way, in Visual Studio, just create a new project, filter for Aspire and there will be several types of templates you can choose from. We’ll choose the empty app now and we’ll build on it ourselves.
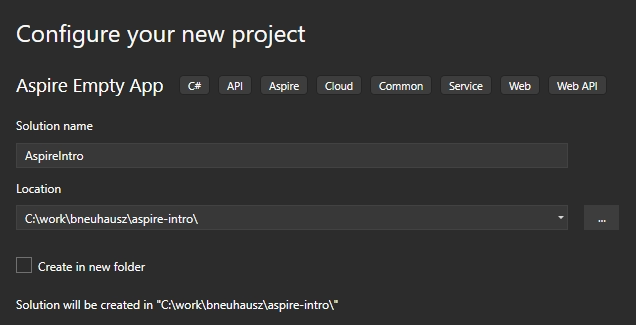
In the next window, give a name to your solution and select a location. I picked the name AspireIntro here.
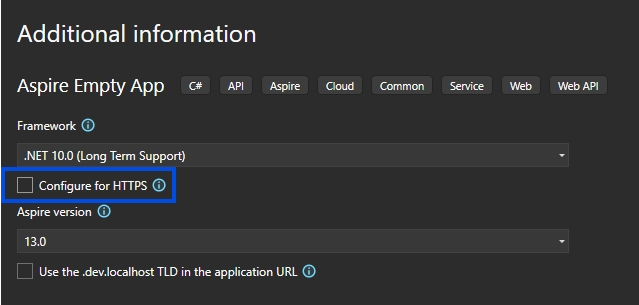
In the last step, we’ll leave the .NET version on 10 and the Aspire version on 13, but I’ll unclick the Configure for HTTPS option for several reasons. For one, we’ll likely put our services behind a reverse proxy later, and two, HTTPS is not in the scope of this walkthrough anyway.
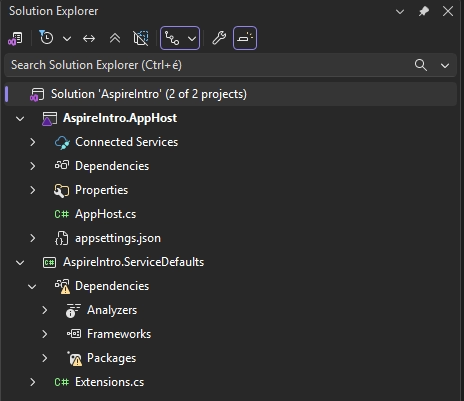
If you followed what I’ve been doing, then your new solution probably looks like this now:
A bit of housekeeping
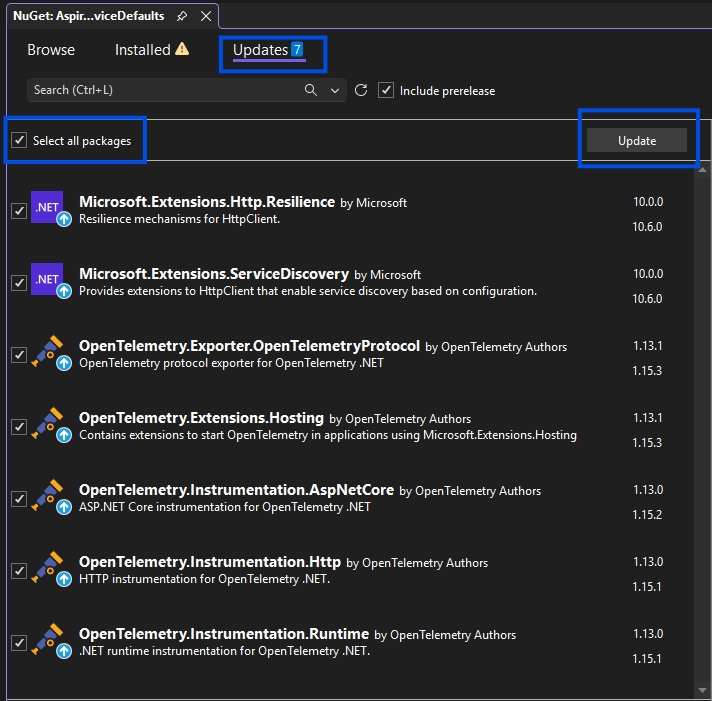
As you can see, the ServiceDefaults project has some warnings, so first we’ll take care of those. It’s due to some of the default OpenTelemetry packages having vulnerabilities at the time of creating the project, but those are patched already, so you can just right-click the ServiceDefaults project, click Manage NuGet Packages, go to the Updates tab and update all of the packages that have a new version.
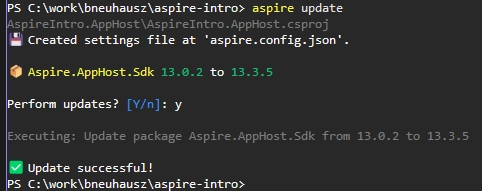
I also just noticed, that Visual Studio created the project with the 13.0.2 version of the Aspire packages. Likely a missing update on my part. You can’t fix it with a single click in Visual Studio, but as I said earlier, the CLI can come in clutch. You can just run the update command to fix it:
aspire updateWhen prompted if you want to perform the updates to 13.3.5, press y and you should see something like this:
One last thing we have to do since we decided not to deal with HTTPS, is to set ASPIRE_ALLOW_UNSECURED_TRANSPORT to true in the AppHost project’s launchSettings.json file, so it should look something like this.

{
"$schema": "https://json.schemastore.org/launchsettings.json",
"profiles": {
"http": {
"commandName": "Project",
"dotnetRunMessages": true,
"launchBrowser": true,
"applicationUrl": "http://localhost:15163",
"environmentVariables": {
"ASPNETCORE_ENVIRONMENT": "Development",
"DOTNET_ENVIRONMENT": "Development",
"ASPIRE_DASHBOARD_OTLP_ENDPOINT_URL": "http://localhost:19205",
"ASPIRE_DASHBOARD_MCP_ENDPOINT_URL": "http://localhost:18031",
"ASPIRE_RESOURCE_SERVICE_ENDPOINT_URL": "http://localhost:20131",
"ASPIRE_ALLOW_UNSECURED_TRANSPORT": "true"
}
}
}
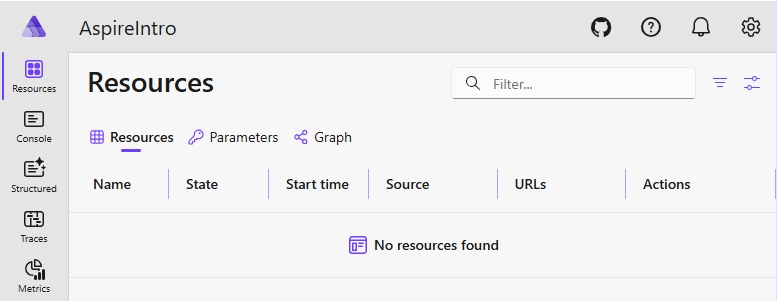
}With everything done, after starting the project, the Aspire Dashboard should be opened:
Next steps
This is where we stop for now, but in the next article, we’ll take a look at what’s in our newly created Aspire application, adding an API to our AppHost and the dashboard itself, so make sure to tune in next time.
The GitHub repo with the code for this project can be found here.
Read Distributed apps with Aspire - Adding our first service here.
Newsletter
Sign up for my maybe monthly (not likely) newsletter for updates on new posts and other content.