2026-06-03 @
Distributed apps with Aspire - Adding our first service
If you’re new here, make sure to check out the previous article of this series.
The Aspire structure
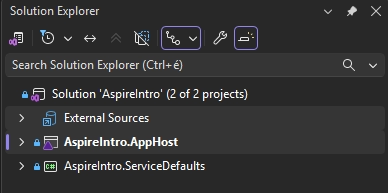
Last time we’ve got our Aspire app up and running. Before we continue building, let’s take a look at our starting point. Since we’ve cleaned up the errors the last time, our solution should look like this:
The AppHost project
The AppHost is the orchestrator and the entry point of the whole thing. It’s the project you actually run, and starting it is what spins up the Aspire Dashboard along with everything else in your stack. It’s just a regular .NET project where you describe your services and their dependencies in code, and we’ve already poked at it in the previous article when we set ASPIRE_ALLOW_UNSECURED_TRANSPORT in its launchSettings.json.
Right now, it’s basically empty. If you open the AppHost.cs file, all you’ll find is the default scaffolding that creates the builder and runs the application, without any resources wired up yet.
var builder = DistributedApplication.CreateBuilder(args);

builder.Build().Run();
We’ll start working on it in just a moment, but first, we have to talk about the other project in our starter app.
The ServiceDefaults project
The ServiceDefaults project is a shared class library that gets referenced by some of the services. Its job is to wire up the cross-cutting concerns you’d want in most of them, like OpenTelemetry for traces and metrics, health checks and service discovery. Instead of copy-pasting that boilerplate into every project, you just call a single extension method in your service’s Program.cs and you’re set up with sensible defaults out of the box.
This is also the project we did a bit of housekeeping on in the previous article, when we updated its OpenTelemetry NuGet packages to clear up the vulnerability warnings. We won’t touch it much for now, but it’s good to know it’s there and what it does, since several services we add to the project will lean on it.
Adding a service
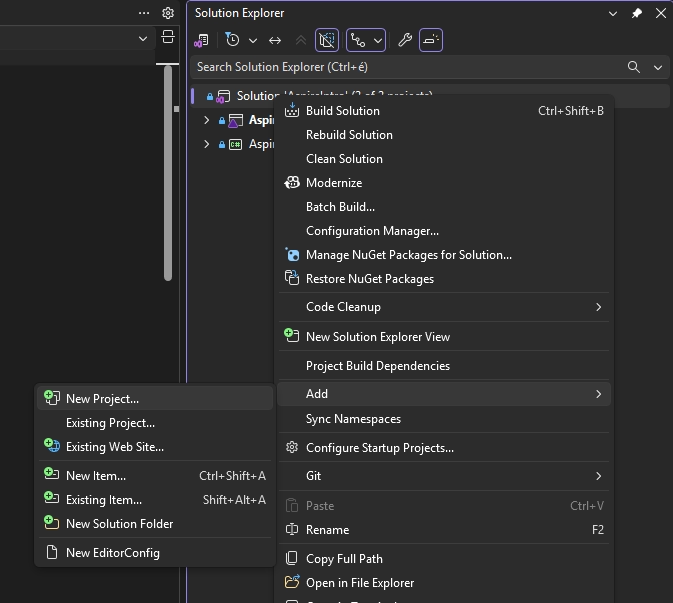
Since we’re using Visual Studio, adding a service to the Aspire project is really simple. Just right click the solution itself, and click Add -> New Project…
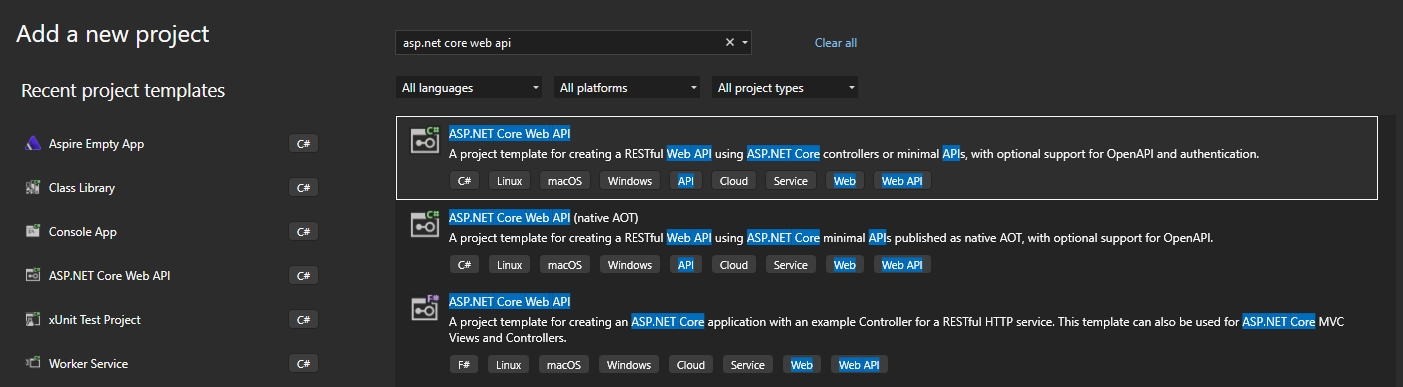
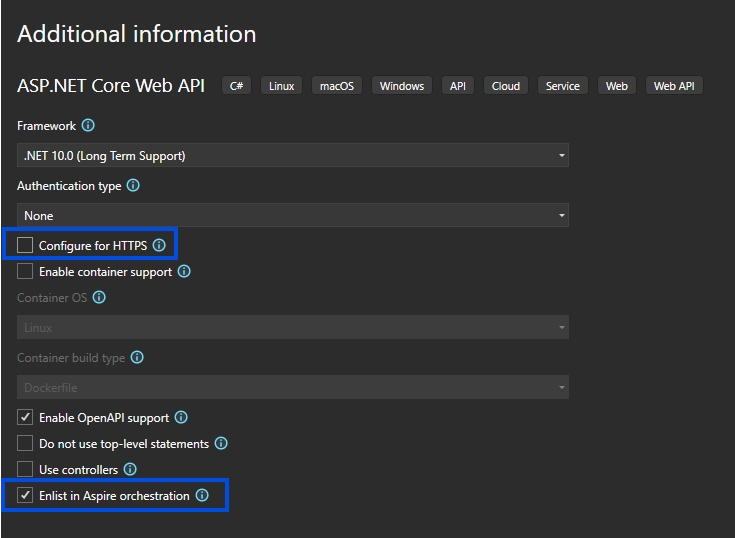
From the list of project templates, select the ASP.NET Core Web API with C# option.
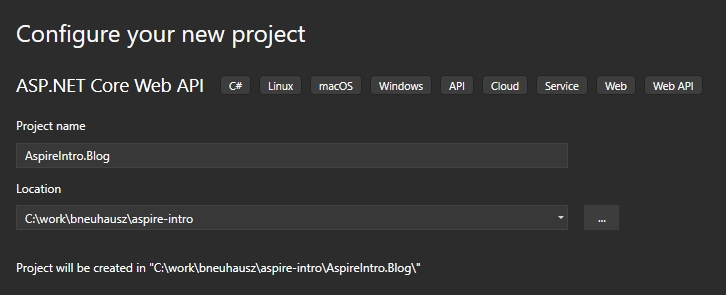
Pick a name to your service. In my case, I chose AspireIntro.Blog but you can choose whatever you want.
In the last step, we only change a single thing. That being, deselecting Configure for HTTPS because we hate HTTPS here. Well, no, we don’t, but for our demo purposes, we don’t really want to think about it.
With that said, make sure to pay attention to the Enlist for Aspire orchestration option being checked. This way, Visual Studio wires our service into Aspire out of the box. We’ll take a look at what this did in a moment, just to get familiar with it, but this option is there to make your life easier, so take it.
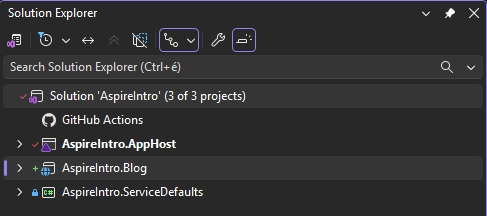
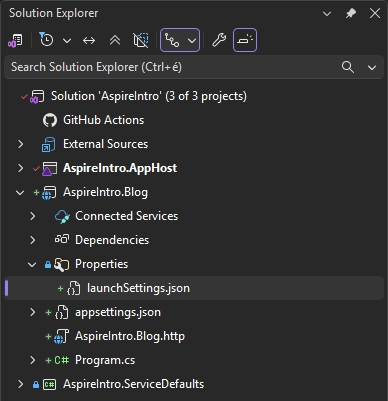
At this point, our solution should have our new project and look like this:
What we’ve just done
So Visual Studio did some magic, but let’s demistify it.
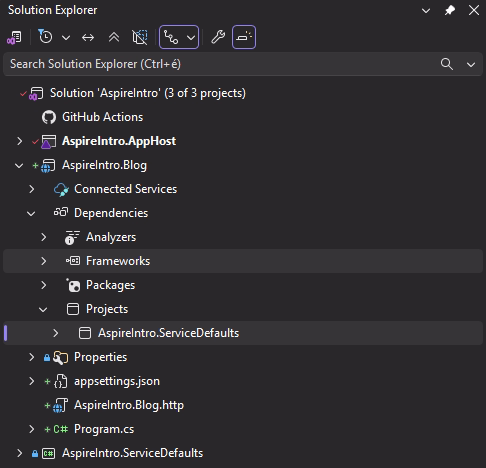
The Blog service
The newly created AspireIntro.Blog project is just a regular ASP.NET Core web API. Here’s the Program.cs file, which we won’t really touch for a while:
var builder = WebApplication.CreateBuilder(args);

builder.AddServiceDefaults();

// Add services to the container.
// Learn more about configuring OpenAPI at https://aka.ms/aspnet/openapi
builder.Services.AddOpenApi();

var app = builder.Build();

app.MapDefaultEndpoints();

// Configure the HTTP request pipeline.
if (app.Environment.IsDevelopment())
{
    app.MapOpenApi();
}

var summaries = new[]
{
    "Freezing", "Bracing", "Chilly", "Cool", "Mild", "Warm", "Balmy", "Hot", "Sweltering", "Scorching"
};

app.MapGet("/weatherforecast", () =>
{
    var forecast =  Enumerable.Range(1, 5).Select(index =>
        new WeatherForecast
        (
            DateOnly.FromDateTime(DateTime.Now.AddDays(index)),
            Random.Shared.Next(-20, 55),
            summaries[Random.Shared.Next(summaries.Length)]
        ))
        .ToArray();
    return forecast;
})
.WithName("GetWeatherForecast");

app.Run();

record WeatherForecast(DateOnly Date, int TemperatureC, string? Summary)
{
    public int TemperatureF => 32 + (int)(TemperatureC / 0.5556);
}
For our demo, having the single /weatherforecast endpoint is fine, at least for now. The only thing that is not standard is the second line of code in the file, specifically builder.AddServiceDefaults();. What happened here, is that VS automatically added the AspireIntro.ServiceDefaults project to the dependencies of our new service and called the AddServiceDefaults extension method defined in the Extensions.cs file.
The AppHost project
The second thing VS took care of for us, is adding the new AspireIntro.Blog project to the dependencies of the AspireIntro.AppHost project.
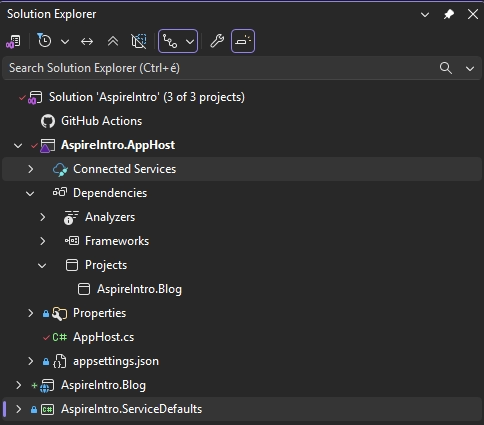
If you’ve paid attention to this last picture or your solution explorer, you can also see that git flagged the AppHost.cs file as changed too. Here’s what’s inside now:
var builder = DistributedApplication.CreateBuilder(args);

builder.AddProject<Projects.AspireIntro_Blog>("aspireintro-blog");

builder.Build().Run();
Now the AddProject extension method has been called on our builder. The Projects.AspireIntro_Blog is automatically generated metadata that Aspire takes care of for you, based on the dependencies of the AppHost.
Also notice, that aspireintro-blog has been passed to the name parameter of AddProject. The name you pass to your projects like this will be used by aspire for service discovery. This is one of the biggest things Aspire does for you when locally developing a distribuated application, but more about that in a later article.
The Dashboard
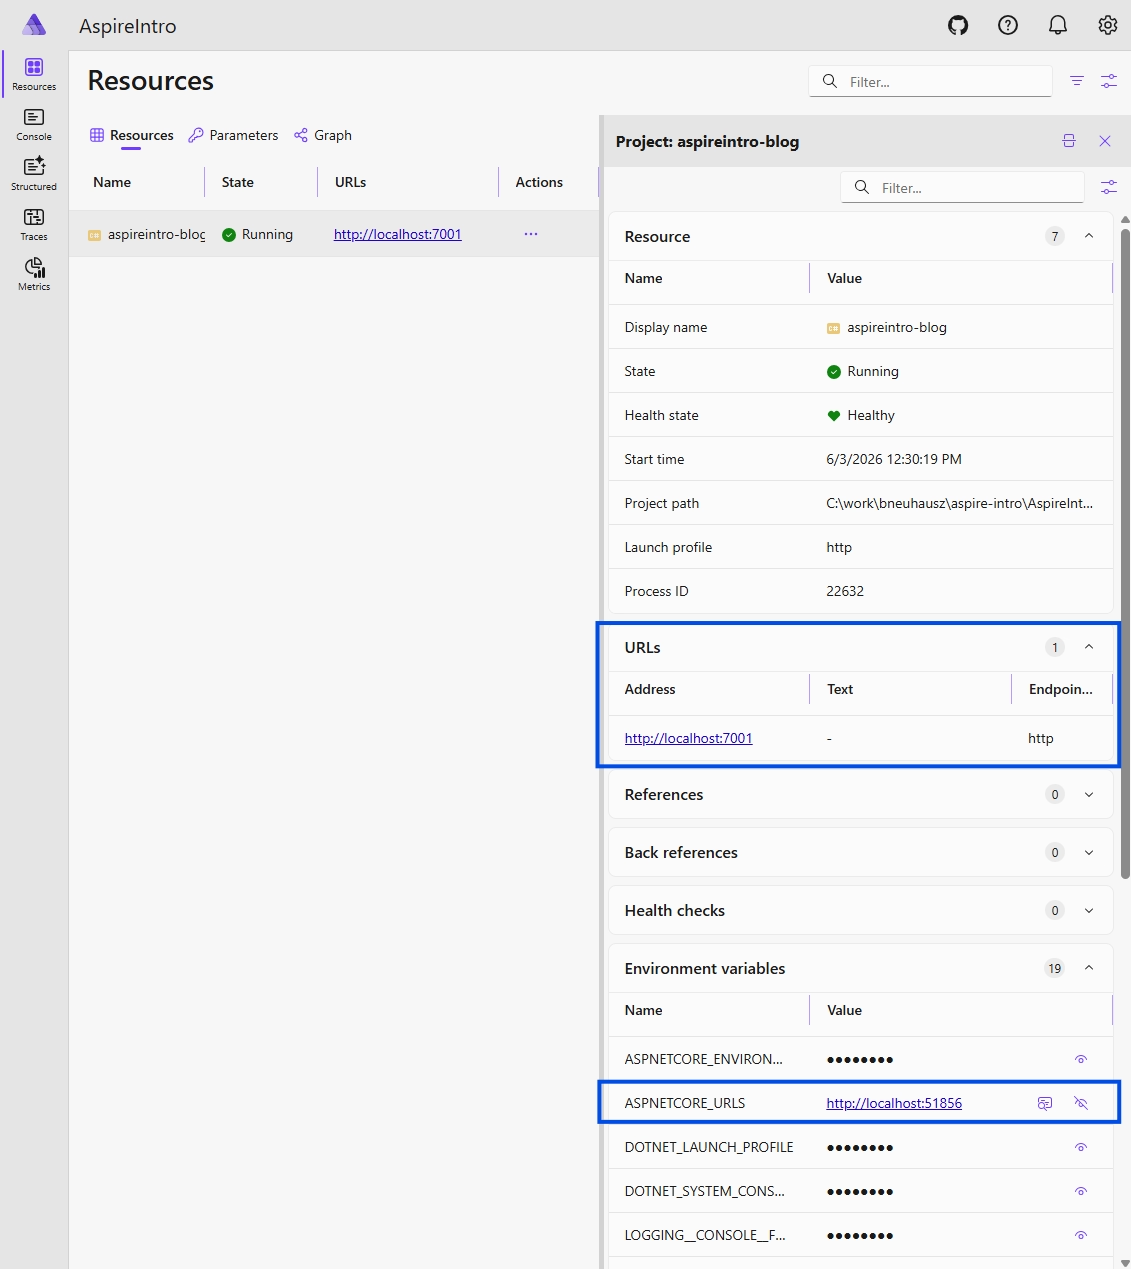
Resources
With everything set up, if you start your AppHost, the new aspire-blog resource should be enlisted on the dashboard.
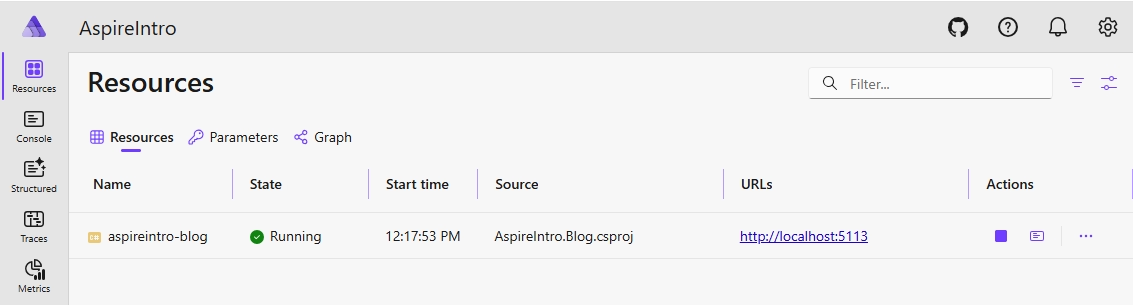
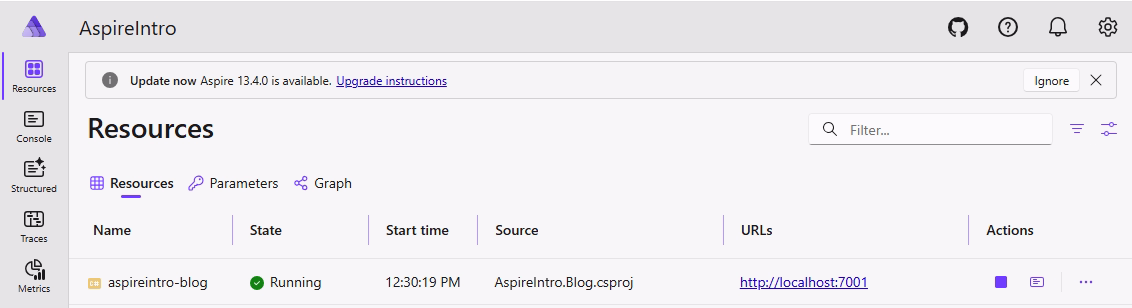
As you can see in the URLs column, the Blog service has been started on port 5113 for me, but probably on an entirely different port in your case. If you are not familiar with ASP.NET Core, that port has been assigned on project creation and you can change it to the port of your liking by altering the applicationUrl property in the Blog project’s launchSettings.json file. In my case, I’ll alter it to 7001.
{
  "$schema": "https://json.schemastore.org/launchsettings.json",
  "profiles": {
    "http": {
      "commandName": "Project",
      "dotnetRunMessages": true,
      "launchBrowser": false,
      "applicationUrl": "http://localhost:7001",
      "environmentVariables": {
        "ASPNETCORE_ENVIRONMENT": "Development"
      }
    }
  }
}
With that change, after restarting the AppHost, the blog servie should be running on port 7001:
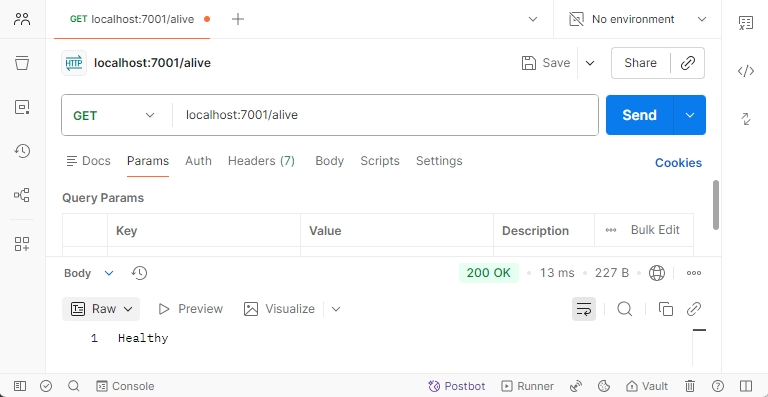
Now, you can make a GET HTTP request to http://localhost:7001/weatherforecast however you want to and the automatically generated dummy endpoint should return back some randomly generated data, proving that our API works. I’ll use postman for this, but you can just open the URL in your browser if you wish.

Also, a quick sidenote, referencing back to ServiceDefaults. Since VS added the AddServiceDefaults() call to our service’s Program.cs, effectively registering health hecks, the /alive and /health endpoints also should automatically work now.

Console
The Console tab of the dashboard gives you access to the standard output logs of your services. In our case, the only resource enlisted is aspireintro-blog, but if there were mroe, you could switch between resources in the top left corner.
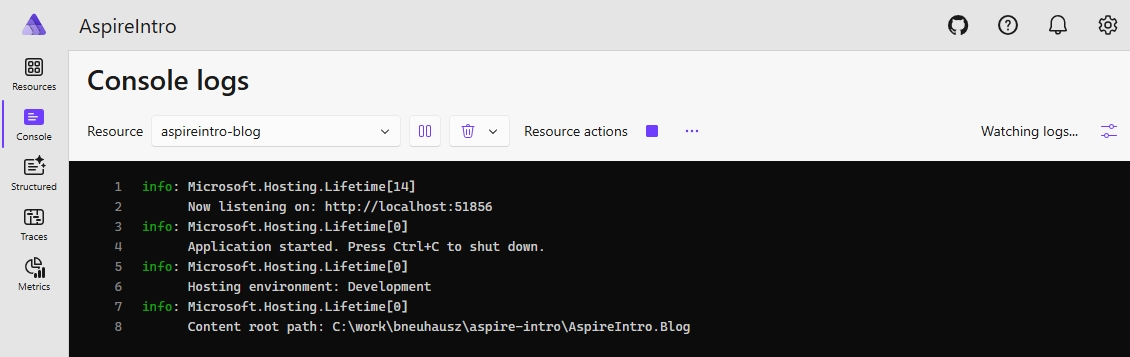
Notice, that the console logs contain an entirely different port. That’s because Aspire exposes our service on port 7001, as we configured it before, but internally, the app runs on a different port. Aspire takes care of the networking for you, so don’t worry about it, but you can check out those settings by clicking on the aspireintro-blog resource back on the Resources tab.
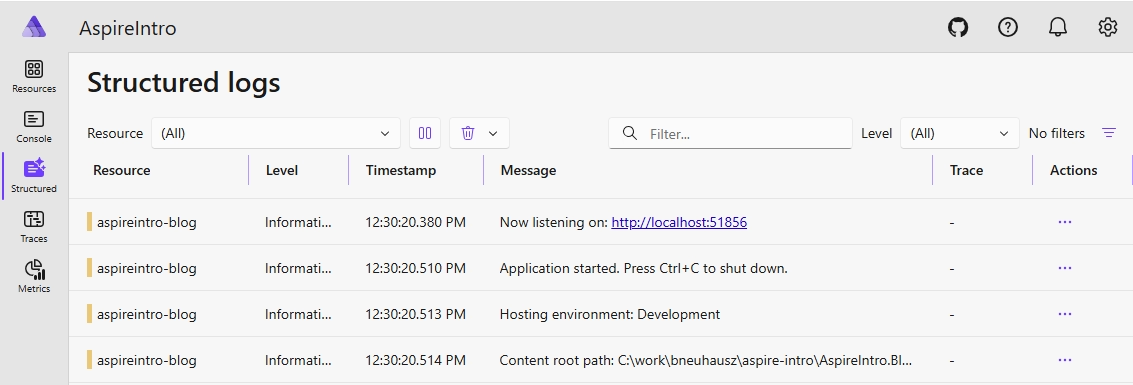
Structured
The Structured tab gives you access to your structured logs. We don’t have much here so far, but it will be interesting later, so just keep this in mind for now.
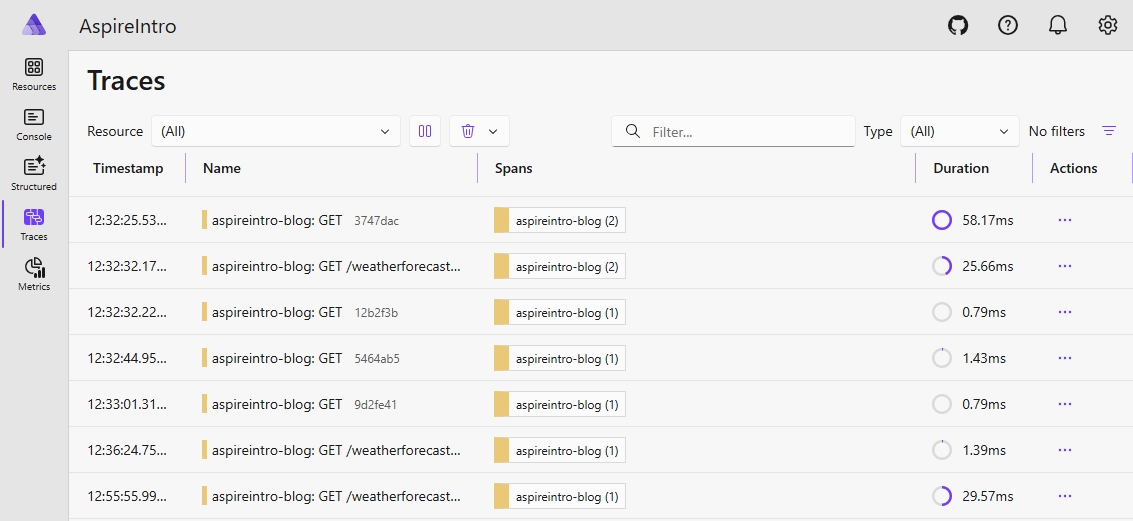
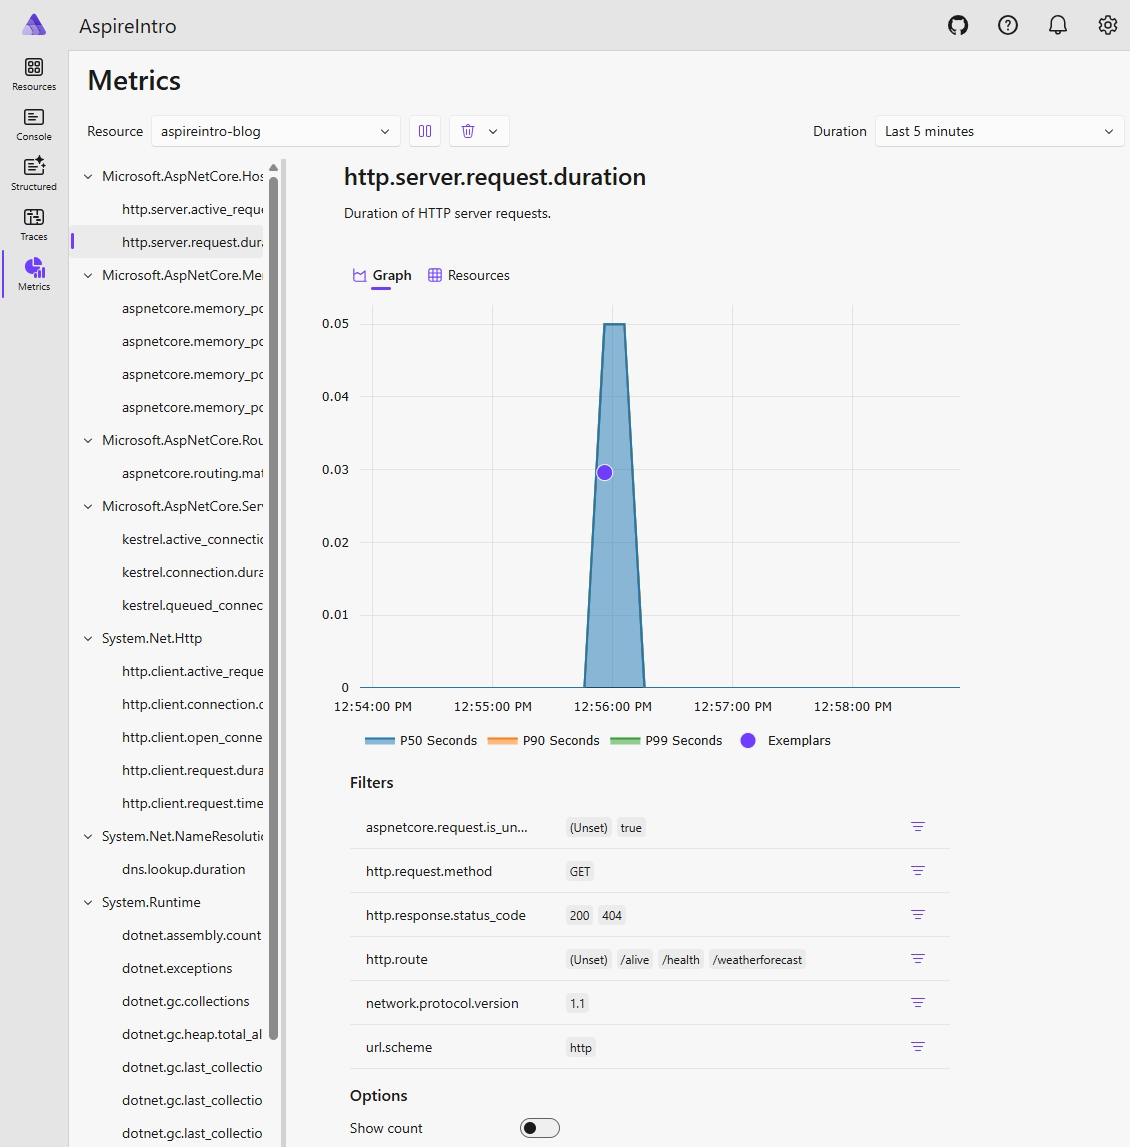
Traces && Metrics
We will take some time to talk a bit about these later, as there is not much going on here so far neither, but make sure to note to yourself that Aspire gives these to you out of the box and that is a big win.
Next steps
Next time we’ll take care of adding a database to our Aspire application.
As always, the GitHub repo with the code for this project can be found here.
Newsletter
Sign up for my maybe monthly (not likely) newsletter for updates on new posts and other content.