
2025-08-23 @
Angular PWA tutorial part 1 - Setup
Changelog:
2025-08-25: Modified title to be consistent with the rest of the series and added link to part 2.
This is the first part of a series of posts going through PWA development in the context of Angular specifically. At the time of writing this, I don’t know how many posts I’ll end up writing or what features we’ll go through specifically, so the scope is fairly vague.
What this series is not
We’ll not create a coherent app here. That is way beyond the scope of a few blog posts. We’ll stitch together parts as needed for demonstration purposes, so different features might not be related to eachother, not even distinctly. We will likely make several shortcuts in architecture, as demonstrating best practices is not the purpose here. Designing is out of scope here. We might add some very basic css, just so our app does not make our eyes water while testing, but that’s about it. Throughout this series, we will use inline templates and styles. Feel free to put your html and css into different files if you feel like it.
Also, I assume at least a little bit of up to date Angular knowledge, so this is not an Angular tutorial.
Anyway, let’s get into it.
What are PWAs?
PWA stands for Progressive Web App. At its core, a PWA is a simple website, with some extra functionalities, like:
- A PWA can be installed to your device’s home screen, directly from the browser, without having to rely on an app store. It still runs in a browser behind the scenes, but it gets its own icon and it appears like a native application.
- Works offline. Obviously, if you need your app to function without network connection, you have to take that account from the beginning and plan for it, but it is possible thanks to service workers.
- Through the running browser’s APIs, PWAs have access, with some limitations, to native device features, like the camera for example.
We’ll discuss many of these in this series, but let’s start at the beginning.
First steps
First of all, you’ll need to install the Angular CLI and create a fresh Angular project. It is a very basic step, but if you’re interested in how I usually do it, you can read about it here. In the future, some things might change, so it is imporant to note that when writing this, I’m using Angular 20. I named my project pwa-tutorial, so keep that in mind for later.
If you have Angular CLI installed and you generated your project, you’ll have to run the following:
ng add @angular/pwaAnd we’re done.
Okay, I’m just kidding. Well, kinda.
Running this command did several things:
- The
@angular/service-workerpackage was added to the project. - It created the
ngsw-config.jsonfile in the project root, which serves to configure your service worker. - Configured
angular.jsonto use your service worker config. - Registered the service worker with the root providers of the app in
app.config.ts. - Created the
manifest.webmanifestfile in thepublicfolder. - Added a bunch of icons in different sizes to the
publicfolder. These will be used if your application gets installed on a device. - Linked the manifest file in
index.html. - Added a
noscriptelement toindex.htmlso if javascript is disabled for the users, they get warned they will need to enable it to use the app.
We’ll talk about some of these in detail later, but for now, let’s just build the app by running in the terminal:
ng buildIf the build was successful, you can run your app with this command:
npx http-server -p 8080 -c-1 dist/pwa-tutorial/browserRemember, pwa-tutorial is the name of the project, so if you named yours differently, replace that part in the command above. The http-server package is a simple, zero-configuration command-line HTTP server, which supports service workers, so it is perfect for testing and development purposes. You can get into the nitty gritty here if you wish, but in the context of this tutorial, you don’t really need to know more about it.
One thing you have to keep in mind, is that browsers require you to use HTTPS to enable PWA functionality. The only exception to that is when the app is hosted on localhost. It’s not a problem in development, but you have to pay attention to this when it comes to production apps.
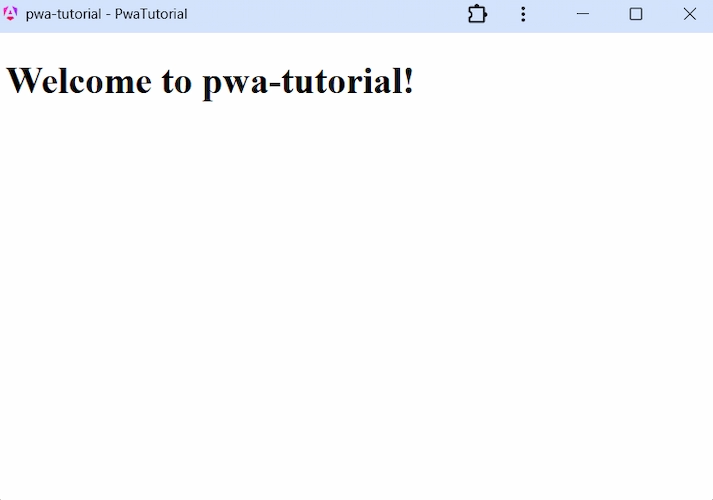
If everything went according to plan, your application is running on the http://localhost:8080 address. When you open that address in your browser, you should see an install icon in the searchbar. It might look different, depending on your browser, but here it is in Chrome:

If you click the icon, the browser should prompt you to install the app. Click yes and your app gets its icon installed to your home screen and from now on, when you run that, it opens in its own window. How that window looks like depends entirely on your device, but for reference, here is our PWA opened on a laptop running Windows:
Displaying offline status
With all of the above done, we do have a functional PWA installed on our device and that more or less concludes the first part of this series. However, I don’t want to let you go without building at least a bit of functionality in our app.
Displaying if the application is offline is not strictly a PWA feature, but, since we are preparing to offer at least some offline functionality, it is certainly a relevant feature, so let’s build it.
First, in your src\app folder, create a new folder named shared and another folder with the name network inside shared. Now create a file with the name network.ts inside your network folder and add the following to it:
import { isPlatformBrowser } from "@angular/common";
import { computed, inject, Injectable, PLATFORM_ID, signal } from "@angular/core";

@Injectable({
  providedIn: 'root',
})
export class NetworkService {
  readonly #isBrowser = isPlatformBrowser(inject(PLATFORM_ID));
  readonly #isOnline = signal(this.#isBrowser ? navigator.onLine : true);

  readonly isOffline = computed(() => !this.#isOnline());

  constructor() {
    if (this.#isBrowser) {
      window.addEventListener('online', () => this.#isOnline.set(true));
      window.addEventListener('offline', () => this.#isOnline.set(false));
    }
  }
}
We’ll go through that in a minute, but first, let’s modify your app.ts to look like this:
import { Component, inject, signal } from '@angular/core';
import { RouterOutlet } from '@angular/router';
import { NetworkService } from './shared/network/network';
@Component({
selector: 'app-root',
imports: [RouterOutlet],
template: `
<h1>Welcome to {{ title() }}!</h1>
@if (network.isOffline()) {
<span>🚫 Offline</span>
}
<router-outlet />
`,
})
export class App {
protected readonly title = signal('pwa-tutorial');
protected readonly network = inject(NetworkService);
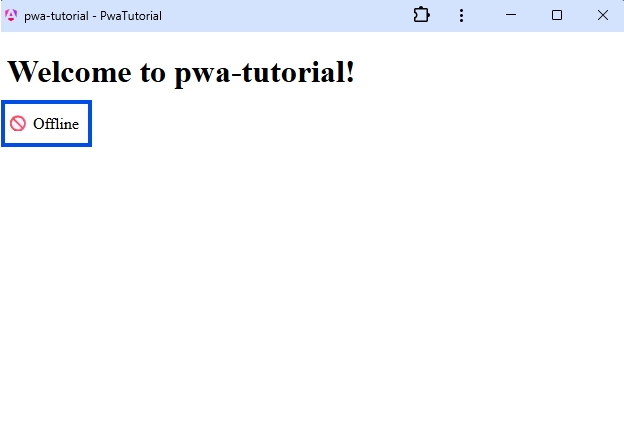
}Rebuild and restart your application. When that’s done, you might need to refersh your application an additional time to load the new functionality. It’s fine, being a PWA with a service worker causes this and we will talk about that in a later post. For now, just refresh your page one more time, maybe two for good measure.
Even though your PWA is running in its own window, you still have access to the developer console of the browser, so press F12 (or whatever the shortcut to it is in your browser of choice) and switch to the network tab.

Or you can just disconnect your Wi-Fi or rip out your ethernet cable. Your choice how, just create or simulate an offline environment and your app will correctly show that your device has no connection.
Now let’s go through the code.
Our app.ts is pretty self explanatory. We just inject our newly created NetworkService and based on the exposed isOffline computed signal, we show the offline status.
Now, network.ts is a bot more interesting. Not that much though.
As I said earlier, displaying offline functionality is not strictly a PWA feature, so we’ll check if the app is running in a browser, because only in a browser environment do we have access to the Navigator API, which you can read more about here. For that reason, it is good practice to check if it is available before using it. This is what we’re doing with #isBrowser, utilizing standard Angular features.
Our #isOnline signal will hold the online status at any given time. We set the initial value to the value of navigator.onLine, at least, if the app is running in a browser environment, which a PWA indeed does, even when it appears to be a standalone app. In our constructor we add listeners to the window object’s online and offline events and set the value of our #isOnline signal accordingly. Again, we only do this if we are running in a browser. If we wouldn’t, the window object would be undefined too, but since we’ve already confirmed our environment through #isBrowser, checking the availability of window specifically is not necessary.
That leaves us with our isOffline computed signal, which is just a publicly exposed signal in our service, that we can use in our app.ts or anywhere else and it provides the negated value of #isOnline, since we most likely will want to check elsewhere if the app “is offline”, not that it is “is not online”.
I’ll wrap this up here for this post. The last thing I’ll do is leave a link to the GitHub repo for this series. The master branch will always contain the up to date version of this application, but I’ll create a new branch for each post with a naming convention of part-1, part-2, part-n, etc…
Part 2 of this series about new version notification has been released, you can find it here.
Newsletter
Sign up for my maybe monthly (not likely) newsletter for updates on new posts and other content.