
2025-09-27 @
AMQP 1.0 Messaging in .NET with Apache Artemis - Part 1
Changelog:
2025-10-01: Added link to part 2.
In this series, we will look at using AMQP 1.0 in .NET. We will use a dockerized instance of Apache’s ActiveMQ Artemis as our message broker. We’ll briefly discuss AMQP 1.0, but a deep dive is beyond the scope of this article. In this first post, we will look at setting up Artemis and creating our .NET application.
What is AMQP 1.0?
Advanced Message Queuing Protocol (AMQP) 1.0 is one of the most flexible and powerful messaging protocols out there- It aims to make interapplication communication reliable, regardless of the technology used to create them. Think along the lines of connecting microservices, procssing IoT data streams or ensuring financial transactions are never lost. At its core, this protocol defines how clients can connect to and communicate with a message broker.
If you want to dive deep into AMQP itself, here’s the specification.
How does Artemis come into the picture?
Apache’s ActiveMQ Artemis is an open-source, high-performance message broker that fluently speaks AMQP 1.0, among other protocols like MQTT. Our .NET application will use the AMQP 1.0 protocol to send messages to Artemis, and Artemis is responsible for distributing those messages to one or more receivers. We’ll later look at using both queues and topics, but for now, think of Artemis as the middleman that receives and distributes our messages. Think of it like a post office.
Setting up our Artemis instance with the help of Docker
The official Artemis image, maintained by The Apache Software Foundation, can be found on Docker Hub. We’ll use this image for our local instance. Let’s set up our docker-compose.yml file:
services:
  artemis:
    image: apache/activemq-artemis:latest-alpine
    container_name: artemis
    ports:
      - "8161:8161"
      - "5672:5672"
    environment:
      - ARTEMIS_USER=admin
      - ARTEMIS_PASSWORD=admin
    volumes:
      - dotnet-artemis:/var/lib/artemis-instance

volumes:
  dotnet-artemis:
This is fairly straightforward, but let’s run through the important parts. We use apache/activemq-artemis:latest-alpine as our base image and set artemis as the name ouf our container, which is totally optional.
We expose ports 8161 abd 5672 available. After starting our container, the Artemis Console will be available at the http://localhost:8161, and 5672 is the default AMQP port, which we will also need to access.
Then we set up a user with the username and password of admin. It goes without saying that you should not do this in a production environment.
As a last step, we set up a named volume to make our data persistent.
If you open a terminal in the folder that containes this docker-compose.yml file, you just have to run
docker compose upwhenever you want to start our Artemis instance and
docker compose downwhenever you want to stop it.
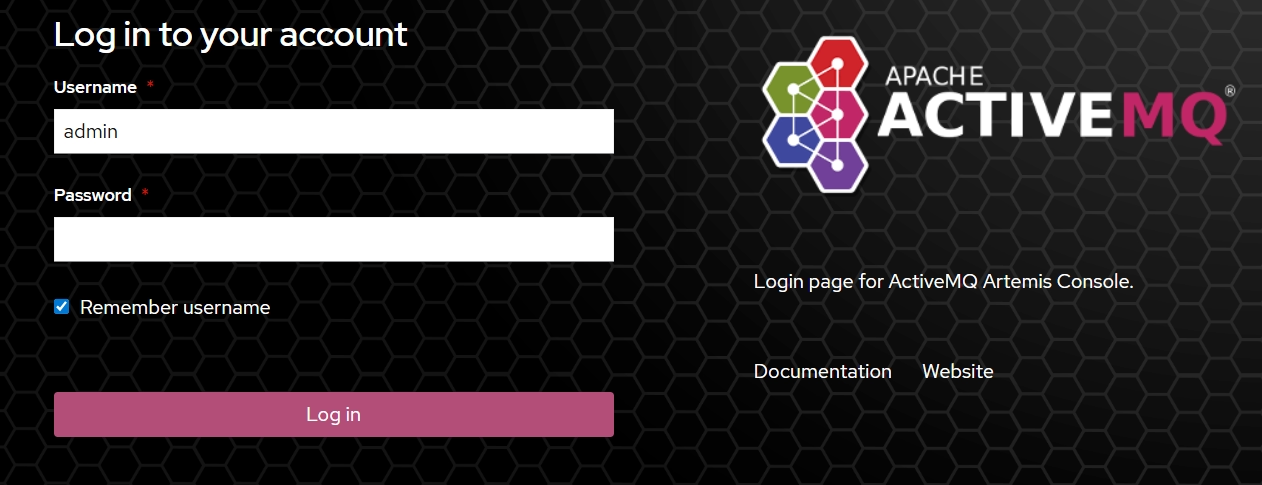
If you’ve done it right, you should see something like this when you navigate to http://localhost:8161
Setting up our .NET app
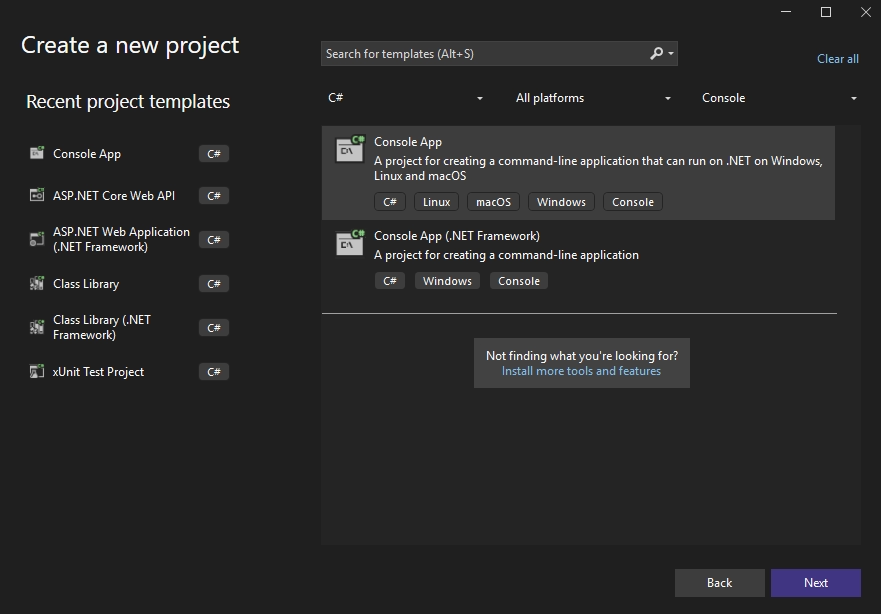
For this demo, let’s just create a basic console application. In this demo, I’ll use .NET 8 and Visual Studio 2022.
Our starting code is this simple line:
Console.WriteLine("Hello, World!");In the following articles, we’ll talk a lot more about the .NET application itself, but in this first part, we’ll leave it as it is.
Enabling AMQP 1.0 communication
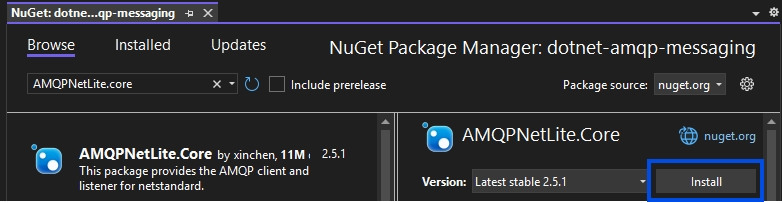
The last thing I want to cover in this article is installing the AMQPNetLite.Core package. This package is maintained by the Microsoft Azure team and it includes both a client and a listener, so it enables both peer to peer and broker based messaging. We’ll utilize this package to both send/receive messages to/from Artemis, so let’s add it through NuGet:
With this, the basic building blocks are in place, so I’ll end this article here. In the following posts, we’ll start talking about more practical things, like setting up our queues/topics and sending messages to them, so stay tuned!
The source code for this article can be found here.
Part 2, covering actually sending a message to Artemis is out. Take a look!
Newsletter
Sign up for my maybe monthly (not likely) newsletter for updates on new posts and other content.